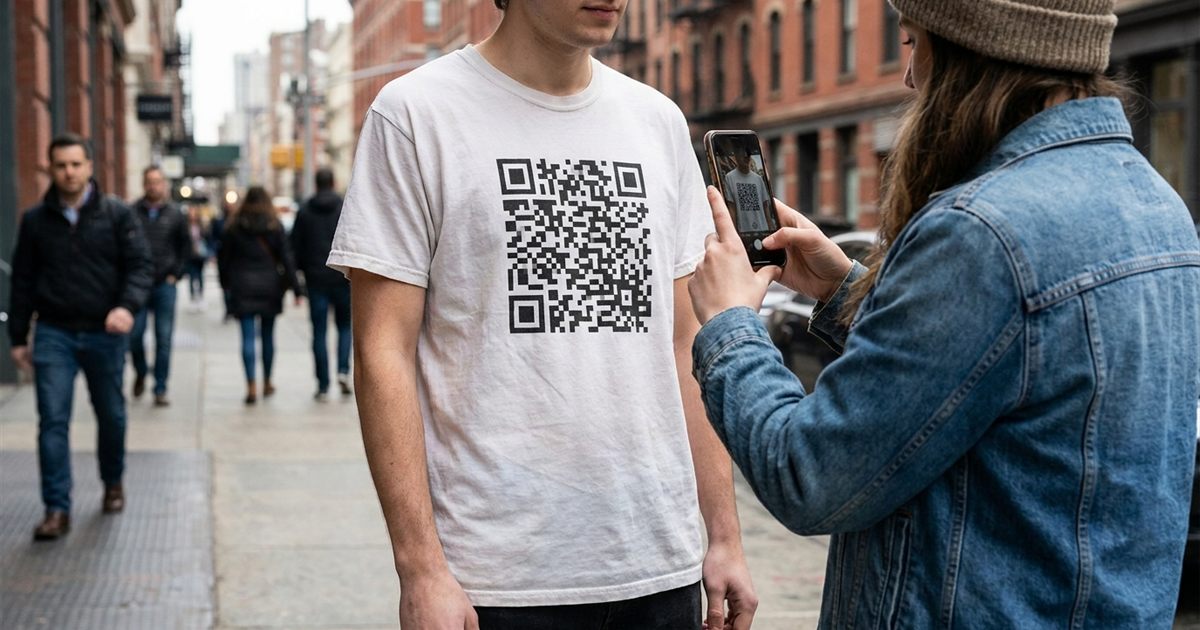
A QR code on a T-shirt turns every wearer into a walking link: a band's merch table, a small shop's tote bags, a team event, a fundraiser. It also sits on one of the hardest surfaces for a code. Fabric stretches, folds and wrinkles, ink spreads slightly, and the wearer is moving. A code that looks great as a mockup can fail on the street. This guide explains what size to use, how to choose contrast and print method, which file to send to the printer and how to test before you order a hundred shirts.
Generate a clean, high contrast QR code ready for your print shop
Create Your Merch QR CodeWhy Fabric Is a Tough Surface
A QR code is a grid of small squares that a camera has to tell apart. On fabric, three things work against that: the cloth moves and wrinkles, the print method can blur edges slightly and the code is often seen at a distance and an angle. The answer is a code that is larger, simpler and higher in contrast than you would use on paper.
How Big Should the Code Be?
As a guide, print a code at least 8 to 10 cm (3 to 4 inches) wide on the chest or back, and larger if you want it to scan from a few steps away. On a tote bag, 10 cm or more works well. Use the rule of thumb that a code scans at around ten times its width, so a 10 cm code works from about one meter.
Always include a white border around the code so the camera can find its edges. See the quiet zone guide.
Keep the Code Simple
Fewer squares means each square can be bigger at the same print size. Keep the link short: a short web address produces a simpler pattern. A long address with tracking text creates a dense code that struggles on fabric. Read how much data fits in a QR code to see how length changes the pattern.
Be careful with high error correction. Higher levels survive damage better, but they also add more squares, which can make a code harder to read at small sizes. A medium level with a short link is often the best balance on fabric. The trade-offs are explained in QR code error correction levels.
Contrast and Color
- Black on white or light colors is the most reliable combination.
- Avoid light codes on dark shirts unless you print a solid light panel behind a dark code.
- A printed patch helps: a white rectangle on a dark shirt, with the code inside, gives a clean background.
- Skip gradients and textures inside the code.
See QR code color contrast and why inverted codes fail in dark mode for more on this.
Choose the Print Method Carefully
- Screen printing: crisp edges and strong contrast, ideal for large runs.
- Heat transfer or vinyl: good definition, but flexible vinyl can crack over time.
- Direct to garment: convenient for small runs, but ink can soften fine details, so use a larger code.
- Embroidery: hard for QR codes. Thread width limits detail, so only use a very large, very simple code, and test it first.
Ask your printer for a sample and scan it before approving the order.
Send the Right File
Print shops prefer vector files because they can scale a code without blur. The QR Code Generator exports both PNG and SVG. Send the SVG when possible, and if you use PNG, export at a large size such as 1024 pixels. The difference is explained in QR code file formats.
Also tell the printer not to resize non-proportionally, recolor, smooth or add effects to the code.
Ideas for Where a Merch QR Code Can Lead
The best destination depends on what the shirt is for. A few ideas that tend to work:
- A band or creator: a page with links to music, videos and the next show.
- A small shop: a discount page or a gallery of products.
- An event or team: a schedule, a map or a photo album. See a shared photo album QR code.
- A fundraiser: a donation page. See QR codes for donations.
Since a printed shirt cannot be updated, a destination you control gives you room to change the content later without reprinting anything.
A Short Pre-Order Checklist
- Confirm the link works on a phone and loads quickly.
- Create the code and export the vector file.
- Place it on a plain or patched background with a white border.
- Ask the printer for a sample on the same fabric and color.
- Scan the sample on the body and after washing.
- Approve the full order only after the scan test passes.
Following this order costs a little time and a sample, and it saves you from a box of shirts with codes that do not work.
Test Before You Order a Batch
- Print one sample on the real fabric.
- Scan it flat, then while the shirt is worn and slightly wrinkled.
- Test with more than one phone and in different light.
- Wash the sample a few times and scan again.
A static QR code cannot be changed after printing, so point it to a page you control. See static vs dynamic QR codes. For curved or glossy objects, see QR codes on mugs and bottles.
Frequently Asked Questions
How big should a QR code be on a T-shirt?
A good starting size is 8 to 10 cm (3 to 4 inches) wide on the chest or back, with a white border around it. Larger codes scan from farther away.
What color should a QR code on a shirt be?
Black on white or a light color is the safest. If the shirt is dark, print a light patch behind the code.
Can a QR code be embroidered?
It is possible but difficult, because thread limits detail. Use a very large, simple code with a short link and test a sample.
Which file should I give to the print shop?
An SVG file is best because it scales without blur. A large PNG, such as 1024 pixels, also works.
Will a QR code still scan after washing?
It can, if the print method is durable and the code is large and high contrast. Test a sample after several washes before ordering a batch.
Ready to put a scannable QR code on your merch?
Create Your Merch QR Code