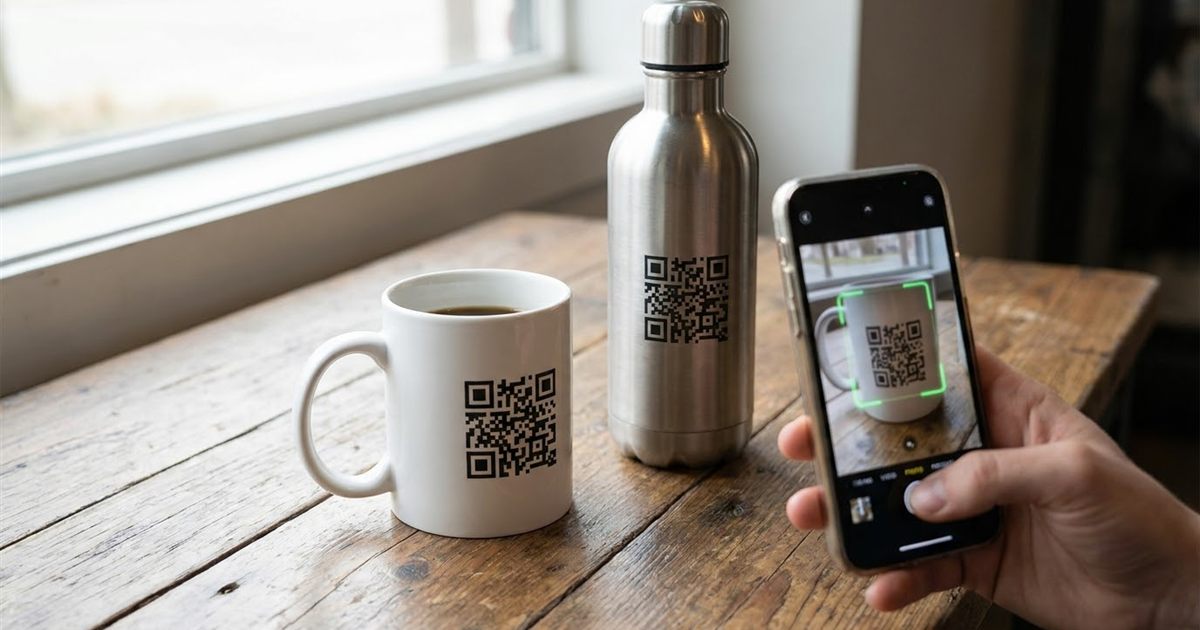
A QR code that scans perfectly on a screen can fail the moment it lands on a coffee mug, a water bottle or a glossy sticker on a curved product. The pattern bends, the shine reflects a window and the phone cannot find the three corner squares. This is a common problem for small brands, craft sellers and event teams who print codes on merchandise. The good news is that most failures come from a few predictable causes, and a QR code can be designed to survive them. This guide explains what goes wrong on curved and glossy surfaces and how to make a sturdier code with a free QR code generator in your browser.
Printing a QR code on a product? Make a strong one first
Make a QR Code, FreeWhy Curved and Glossy Surfaces Cause Trouble
A QR code is a grid of squares that a phone camera reads as a flat picture. Anything that distorts that grid makes decoding harder.
- Curvature: on a cylinder the squares at the sides are squeezed and look narrower than the ones in the middle. If the code wraps too far around, the camera cannot see all of it at once.
- Gloss: a shiny surface reflects light. A reflection over part of the code hides squares or lowers contrast at certain angles.
- Small size: products often leave only a small area, and a small code on a curved surface has tiny squares that blur easily.
- Low contrast: transfer prints, engraving or colored ceramic can make the dark squares look gray.
- Texture: rough or embossed surfaces create shadows that look like extra squares.
Rule 1: Keep the Code Small in Width, Large in Squares
On a curved object, the less the code wraps around the surface, the better. Print it on the flattest part, in the middle of the curve rather than near an edge. A code that is narrow compared with the radius of the object looks almost flat to the camera.
At the same time, avoid putting too much data in the code. The more characters in the link, the denser the grid and the smaller each square. A short link gives bigger squares that survive distortion. See how much data fits in a QR code for the details.
Rule 2: Use a Higher Error Correction Level
QR codes include built in redundancy, called error correction, so a code can still be read when part of it is damaged, dirty or covered. The level you pick in the generator controls how much can be lost. On a curved or glossy product, a medium or high level is a safe choice, because glare and distortion behave like partial damage.
- Higher levels make the code more tolerant but also a bit denser.
- If you add a logo, the generator switches to the highest level for you, since the logo covers part of the code.
- Do not use a high level as an excuse for a tiny code. Size still matters.
More on this in QR code error correction levels explained.
Rule 3: Maximize Contrast and Keep the Quiet Zone
- Use dark squares on a light background. Black on white is the safest combination. See what actually scans in QR code color contrast.
- Do not use inverted codes, with light squares on a dark background, unless you have tested them. QR code dark mode and inverted colors explains why.
- Keep an empty margin around the code. On a mug, do not let the handle, a pattern or the edge of the print touch the code.
- Do not place the code over a busy photo or a texture.
Rule 4: Control the Shine
Glossy ceramic, metal and laminated stickers are the usual culprits. If you can choose the finish, choose matte. If you cannot, change where the code sits so that it does not face the main light source of the place where it will be used.
- Ask your printer for a matte laminate or a satin finish.
- On bottles, place the code on the side that faces away from the label seam and the cap.
- For stickers, use a matte vinyl rather than a clear glossy one.
- Test the code near a window and under room lights, because glare changes with the setting.
Make the Code in Your Browser
- Decide what the code should open, for example a product page, a care guide or a contact page. Use a short link.
- Open the QR Code Generator and paste it. The preview updates as you type.
- Pick a medium or high error correction level.
- Use a size of 512 pixels or more, so that the print file is sharp even if the printer scales it down.
- Keep black on white. Add a logo only if you test it, because it takes space from the data.
- Download as PNG for most printers, or SVG if your printer asks for a scalable file. See QR code file formats.
The generator runs in your browser and adds no watermark. If you want colors or a label such as Scan me, the Custom QR Code Generator has those options, but keep the contrast high on curved items.
Test Before You Print a Batch
Testing is the step most sellers skip and then regret. Print one sample on the real product and check it.
- Scan it with at least two different phones, one older and one newer.
- Scan from the distance a real customer would use, in their hand or on a shelf.
- Rotate the object slowly and see at which angles it fails. If it fails at a small angle, make the code smaller or flatter.
- Test in bright light, in a dim room and near a window.
- Scan it after a gentle rub or a wash if the product will be washed. Some prints fade or scratch.
The checklist in why won't my QR code scan covers the other usual causes.
Add a Reason to Scan and Keep a Backup
People scan when they know what they will get. Add a short label such as Scan for care tips or Scan to reorder. Also print a short web address in plain text near the code for people who cannot scan. On a mug or bottle, this backup is worth the small space it takes.
Frequently Asked Questions
Can a QR code scan on a curved bottle or mug?
Yes, if it is placed on the flattest part, kept small in width, printed in high contrast and made with a medium or high error correction level. Always test a sample before printing a batch.
What is the best finish for a printed QR code?
Matte or satin. Glossy surfaces create reflections that can hide part of the code at some angles.
Which error correction level should I choose for merchandise?
A medium or high level is a safe choice for curved or glossy items because glare and distortion behave like partial damage. Adding a logo automatically uses the highest level.
Should I use PNG or SVG for printing on products?
Use the format your printer asks for. PNG works for most jobs if you generate a large enough size, and SVG is useful when the printer needs a scalable file.
Ready to make a QR code that scans on a curved surface?
Make a QR Code, Free