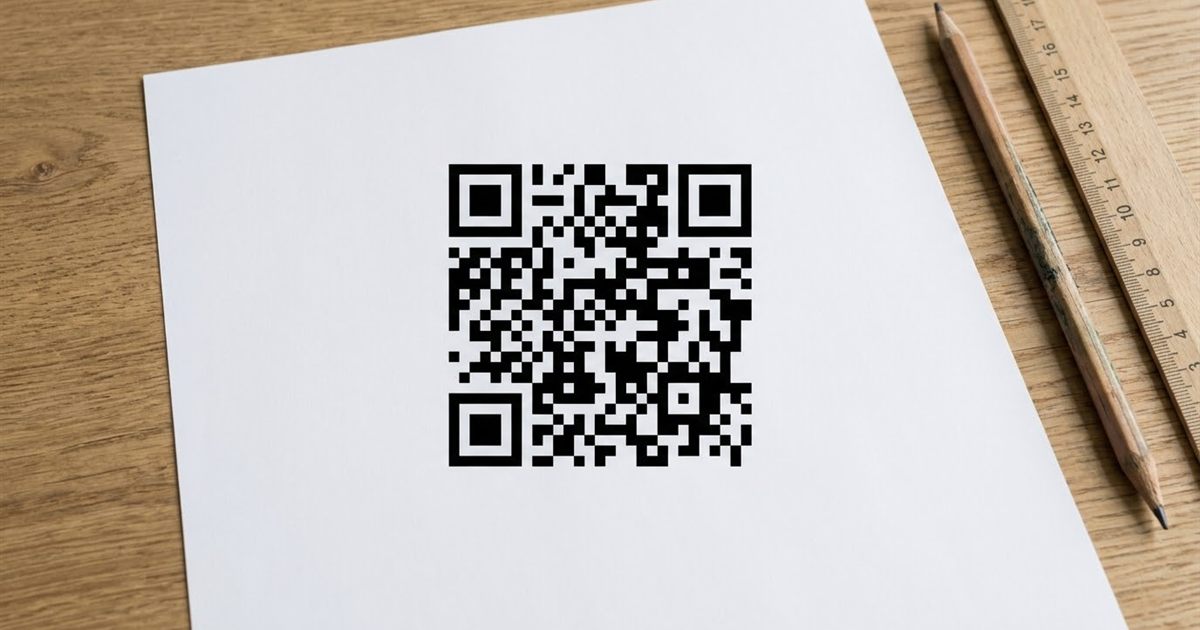
People often trim the white border off a QR code because it looks wasteful, then wonder why it stops scanning. That empty margin has a name, the quiet zone, and it is part of how a phone finds and reads the code. Designers crop it, printers squeeze text against it and background patterns run into it, and the result is a code that works on screen but fails in the real world. This guide explains what the quiet zone is, how much space you need, what breaks it and how to keep it intact when you generate a QR code and place it on a design.
Need a QR code with a clean, scannable margin? Generate one now
Generate a QR CodeWhat the Quiet Zone Is
The quiet zone is the blank area that surrounds the pattern of a QR code. It tells the scanner where the code begins and ends, separating it from whatever else is on the page. Without it, the scanner can confuse the edge of the code with nearby text, lines or images.
The QR specification calls for a margin of at least four modules on every side. A module is one of the small squares that make up the code, so the margin is about the width of four of those squares.
How Much Space You Need in Practice
You do not have to measure modules every time. A simple rule works: leave a clear border of about four small squares, and if you are unsure, leave a little more.
- Printed codes: keep text, borders and graphics at least that far away from the code.
- Screens and slides: keep the code on a plain panel, not directly on a busy photo.
- Small labels: the margin shrinks with the code, so it can be tiny in absolute terms. Test a printed sample.
What Breaks the Quiet Zone
- Cropping the image: trimming the white edge to make a design fit is the most common cause.
- Placing on a pattern: stripes, textures or photos touching the code confuse the edge.
- Tight frames: a decorative border drawn right against the code acts like part of the pattern.
- Dark backgrounds: a code on a dark surface loses its light margin. See QR codes on dark backgrounds.
Keep the Margin When You Generate and Place the Code
The EzyIMG QR Code Generator exports the code with its margin included, so the file you download is ready to place. Use it as it is.
- Generate the code at a size larger than you need, then scale it down in your design tool rather than up.
- Place the whole image, margin included, on your layout.
- Keep other elements outside the margin, not on top of it.
- Choose dark modules on a light background for the best contrast, as explained in QR code color contrast.
Test Before You Print a Large Batch
A quick test avoids expensive mistakes. Print one copy at final size, place it in the real setting and scan it with more than one phone. If it fails, check the margin first, then contrast and size. Why your QR code will not scan has a full checklist, and QR code size for printing helps you choose dimensions.
Quiet Zone Mistakes in Real Designs
The quiet zone problem rarely shows up on a screen preview, which is why it surprises people after printing. A few situations come up again and again.
- Business cards: the code is pushed to a corner and the edge of the card cuts into the margin. Keep it away from the trim line.
- Posters with photos: the code sits directly on part of an image. Place it on a plain white box instead.
- Product packaging: a fold or seam runs through the margin. Move the code to a flat panel.
- Stickers on colored items: a colored surface acts as the background. Print the code with its own white border.
In each case, the solution is the same: give the code a plain light area to sit in, and treat that area as part of the code rather than as spare space.
Quiet Zone and Size: Plan Them Together
A bigger margin means a bigger total footprint, so plan both together. If you have a fixed space of, say, three centimeters, the code itself must be smaller than three centimeters to leave room for the margin. Starting from the full space and then adding a margin is how codes end up cramped or cropped.
Decide the final printed width of the whole block, margin included, and fit the code inside it. That small order of operations prevents most layout problems before you ever press print.
Quick Checklist Before You Send to Print
- The code is not cropped and its white margin is intact on all four sides.
- No text, lines or images touch or overlap the margin.
- The background around the code is plain and light.
- You printed a test at the final size and scanned it with two different phones.
- The code is far enough from folds, edges and trim lines.
If every item is checked, your code is ready for a full print run.
When a Frame or Label Is Fine
You can add a call to action or a frame, as long as it sits outside the margin. A short label such as "Scan me" works well when it is separate from the code. QR codes with a Scan me label shows how to do it without crowding the pattern.
Frequently Asked Questions
What is the quiet zone on a QR code?
It is the blank margin around the code that helps scanners find its edges. The standard calls for at least four modules on each side.
Can I remove the white border?
It is not recommended. Removing it can make the code fail to scan, especially on busy or dark backgrounds.
Does the quiet zone have to be white?
It must be a plain, light area with good contrast against the code. White is the safest choice.
Does the generator include the margin?
Yes. The downloaded image already includes a margin, so place it without cropping.
How can I check my QR code?
Print it at the final size and scan it with several phones before producing a large batch.
Ready to create a QR code that scans first try?
Generate a QR Code