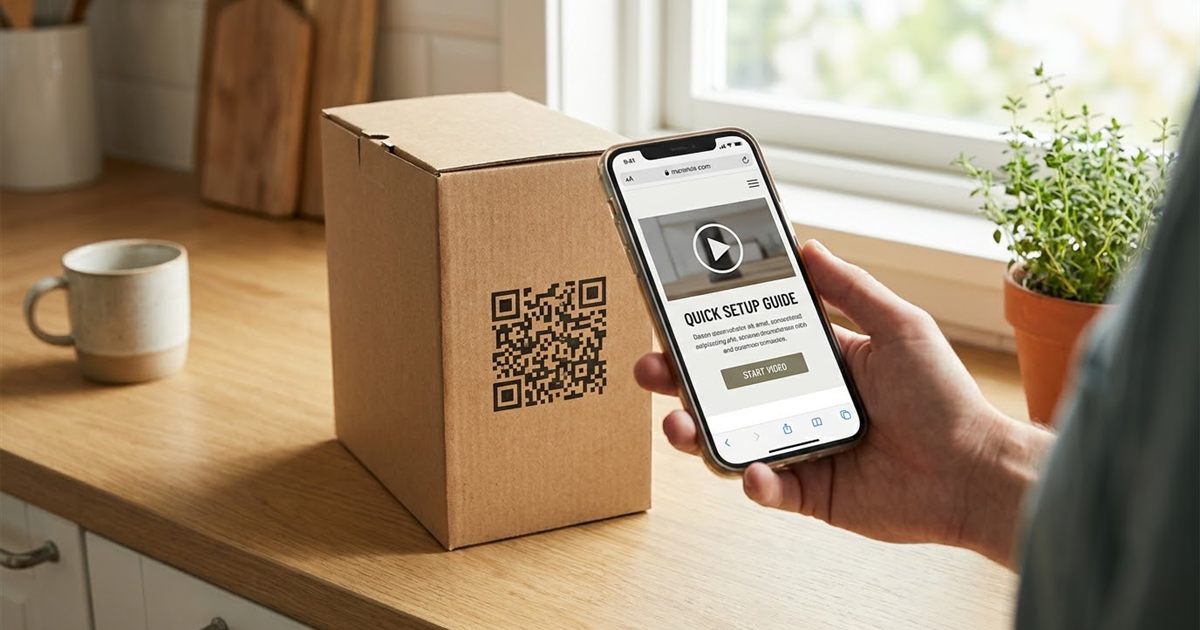
Printed manuals are expensive, easy to lose and impossible to update after the product ships. Customers want something different: scan a code on the box or on the device and land right on the setup guide, the video or the warranty form. For a small brand, this is one of the most practical uses of a QR code. It cuts printing costs, reduces support emails and lets you fix a mistake in an instruction without recalling a single unit. This guide explains what to link, where to place the code and how to make a reliable one with a free QR code generator that works in your browser.
Selling a product? Put the manual one scan away
Make a QR Code, FreeWhy a QR Code Works for Manuals and Warranty Pages
- Always up to date: the code points to a web page. When the instructions change, you update the page and every printed code still works.
- Cheaper printing: a small card or a sticker replaces a multi page booklet.
- Fewer support questions: a customer who can open a clear guide and a short video often does not need to write to you.
- Better warranty data: a registration form linked from the box increases the number of customers who register.
- Many languages in one place: the page can let people pick a language, so one printed code serves every market.
The code is not a replacement for safety information that the law requires on paper. Check the rules for your product and your market, and keep any mandatory warnings printed on the product or the packaging.
What to Link to
Use one landing page per product, not one giant page for the whole catalog. A customer scanning the code on a blender does not want to search through a list of every appliance you sell.
- A short quick start guide with the first three steps.
- A setup or assembly video.
- The full manual as a PDF, plus a plain page version for phones.
- Troubleshooting tips and a link to contact support.
- The warranty registration form.
- Replacement part and accessory information.
Put the most needed item first. Most customers scan to answer one question, such as how to connect or how to clean, so put those answers at the top of the page.
Where to Put the Code
- On the box, near the front or on a side panel: so people can scan before they open it.
- On a card inside the box: a small card that says Scan for setup is often the first thing people see when they open it.
- On the product itself: for items that people use for years, a small sticker or engraved code on the back or underside survives long after the box is gone.
- On the warranty card: the code can lead straight to the registration form.
If you place a code on the product, make sure the surface is flat enough and the contrast is good. For curved or glossy items, see QR codes on mugs, bottles and curved surfaces.
Make the Code Step by Step
- Build the landing page first and test it on a phone. It should load quickly and be easy to read with one hand.
- Copy the short link of that page.
- Open the QR Code Generator and paste the link. The preview updates as you type.
- Choose a medium or high error correction level, since a code on a product will get handled, scratched and sometimes dirty.
- Pick a size of 512 pixels or more for print, and keep black on white for the best results.
- Download as PNG, or as SVG if your packaging designer needs a scalable file. QR code file formats explains the difference.
- Send it to your designer and ask them not to stretch or recolor it.
The tool runs in your browser, with no signup and no watermark, so you can make a separate code for every product in a few minutes. If you have a long list, how to generate multiple QR codes at once shows how to speed it up.
Print Size and Placement Rules
A code printed on packaging needs enough room to scan easily. As a rule, a code scans from roughly ten times its width, and a person holding a box usually scans from close by, so a code of 2 to 3 centimeters is common on small packaging. Keep a clear empty margin around it and do not place it over a fold, a seam or a window. Details are in QR code size for printing.
Plan for Changes
The code is permanent once printed, but the page behind it is not. Plan for that.
- Link to a stable address on your own site, such as a short path for each product, that you control.
- Never link to a temporary file or a page that you might delete.
- If you change platforms, set up a redirect from the old address to the new one.
- Keep one live page for each product even after you stop selling it, for customers who still own it.
If you want to understand how a printed code can lead to a page you can change, read static vs dynamic QR codes.
Add a Reason to Scan
A bare code has no pull. Add a short label in a clear font, such as Scan for setup help, Scan to register your warranty or Scan for the video guide. Keep the main support contact printed in plain text too, for anyone who cannot or will not scan.
Frequently Asked Questions
Can a QR code replace a printed manual?
For setup guides, videos and troubleshooting, yes in many cases. Safety information that the law requires on paper must still be printed, so check the rules for your product and market.
Where should I place the QR code on a product?
On the front or a side panel of the box, on a card inside, on the warranty card and, for long lived products, on a flat area of the product itself.
What happens if I change my manual after printing the code?
Nothing breaks. The code points to a web page, so you update the page and the same printed code shows the new version.
Do I need a different QR code for each product?
It is best to have one code and one landing page per product, so customers land directly on the information they need.
Ready to link your manual with a QR code?
Make a QR Code, Free