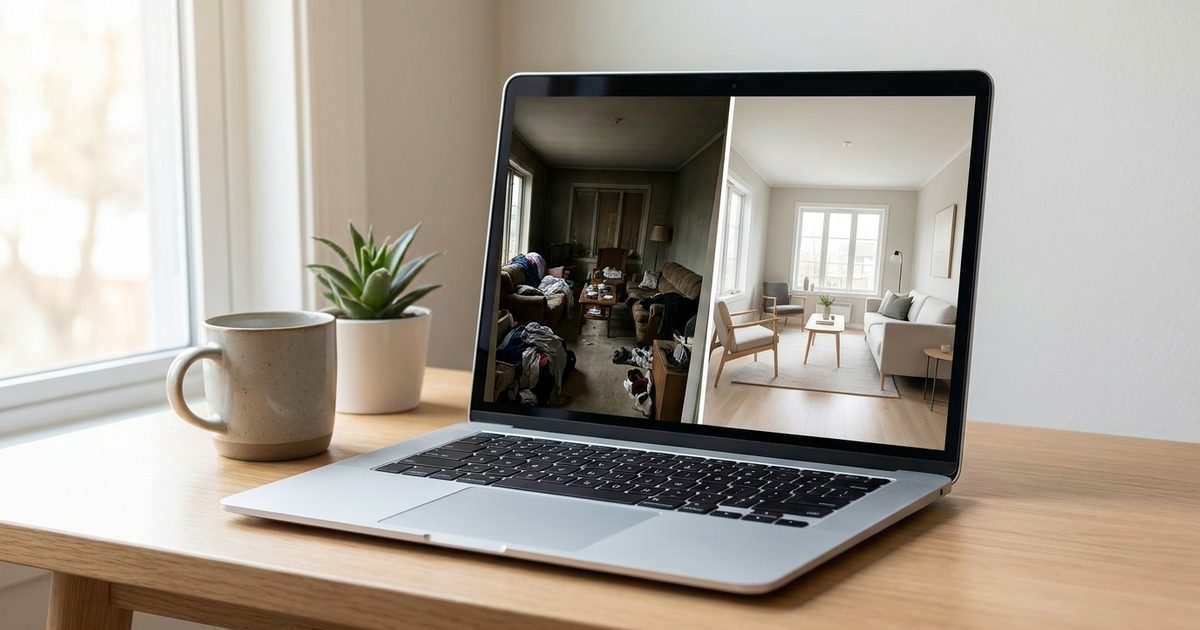
A before and after works best when the viewer can feel the change without doing any work. Two photos placed side by side ask people to scan back and forth. A GIF that flips between them does the comparing for you. With the EzyIMG GIF Maker you can build one from two ordinary photos in about a minute, no editing software and no watermark.
Make your before and after GIF
Open GIF Maker, Free, No SignupWhy a Looping Comparison Works
A looping before and after keeps your eye in the same spot, so every difference shows up as motion. A wall that changed color, a haircut, a cleaned-up patio or a retouched photo all read faster when the frame stays fixed and only the subject changes. It also fits anywhere a GIF or short loop autoplays, such as social posts, email newsletters, listings and portfolio pages.
Shoot the Two Photos So They Match
The quality of the loop depends far more on the photos than on the tool. If the camera moves between shots, the whole picture appears to jump instead of just the change you care about. A few habits make the difference:
- Shoot from the same position and height. A tripod, a stack of books or a mark on the floor all work.
- Keep the same orientation, portrait or landscape, for both photos.
- Match the lighting as closely as you can, ideally the same time of day or the same lamps.
- Keep the framing identical, with the subject in the same part of the picture.
- Do not zoom differently between the two shots.
Build the GIF in Five Steps
- Open the GIF Maker and upload your before photo first, then your after photo. Frames play in the order you add them, and thumbnails are numbered so you can confirm the sequence.
- Set FPS to 1. At that rate each photo shows for a full second.
- Set the width. 600 to 800 pixels is plenty for a comparison and keeps the file light.
- Leave Loop on Infinite so the comparison keeps cycling.
- Press Create GIF, preview the result and download it.
Hold Each Photo Longer
One second per photo is fine for a simple change, but detailed transformations deserve more time. The frame rate applies to every frame equally, so the easy fix is repetition. Upload your before photo twice and your after photo twice, in the order before, before, after, after. At 1 FPS each photo now stays on screen for two seconds. Three copies of each gives three seconds.
This also lets you weight the story. If you want the after to linger, add one extra copy of it and leave the before at a single frame.
What to Expect From the Result
The transition is a straight cut from one photo to the next. It is a flip, not a slider, a fade or a wipe. For most comparisons that is exactly what people want because there is nothing to distract from the change itself. If you need labels such as Before and After on the frames, add them to your photos first or follow the guide on adding text to a GIF.
Everything runs in your browser, so your photos are not uploaded to a server. That matters when the images show clients, homes or personal progress you would rather keep private until you choose to share the result.
Ideas That Work Well
- Home renovations, painting, staging and decluttering.
- Landscaping, garden cleanups and pressure washing.
- Hair, nails, makeup and skin care results, with the client's permission.
- Photo retouching or color grading comparisons.
- Product restoration, furniture refinishing and detailing.
- Fitness and habit progress shots taken from the same spot.
Keep It Honest
A before and after loses all its value if viewers suspect the photos were staged to exaggerate. Shoot both under similar conditions, avoid changing the lighting to flatter the after, and get permission before publishing images of people or private property. Honest comparisons build more trust than dramatic ones, and trust is what makes people share and buy.
Troubleshooting
- The picture jumps between frames: the camera moved. Re-shoot from the same spot or crop both photos to the same framing first.
- The loop flips too fast to compare: keep FPS at 1 and repeat each photo.
- The file is heavier than expected: lower the width. The file size guide covers more options.
- Colors look slightly different from the original: GIF frames use a 256-color palette, so subtle gradients can shift a little.
Frequently Asked Questions
How many photos do I need for a before and after GIF?
Two is the minimum and is enough for a simple comparison. The GIF Maker requires at least two images, and you can repeat each photo to hold it on screen longer.
Can I make the GIF fade between the before and after?
The tool cuts directly from one frame to the next, so there is no fade or slider effect. For most comparisons the hard cut is clearer because nothing distracts from the change.
What FPS should I use for a before and after?
Use 1 FPS so each photo stays on screen for a full second, and repeat each photo if you want longer holds. Higher rates flip the images too quickly to compare.
Do the two photos need the same size?
They should share the same aspect ratio and framing. Matching dimensions keeps the frames aligned, so only the change appears to move and the whole picture does not jump.
Are my photos uploaded anywhere?
No. The GIF is created in your browser, so the images stay on your device throughout.
Have two matching photos ready? Open the GIF Maker and turn them into a looping comparison.
Have two matching photos ready?
Open GIF Maker, Free, No Signup