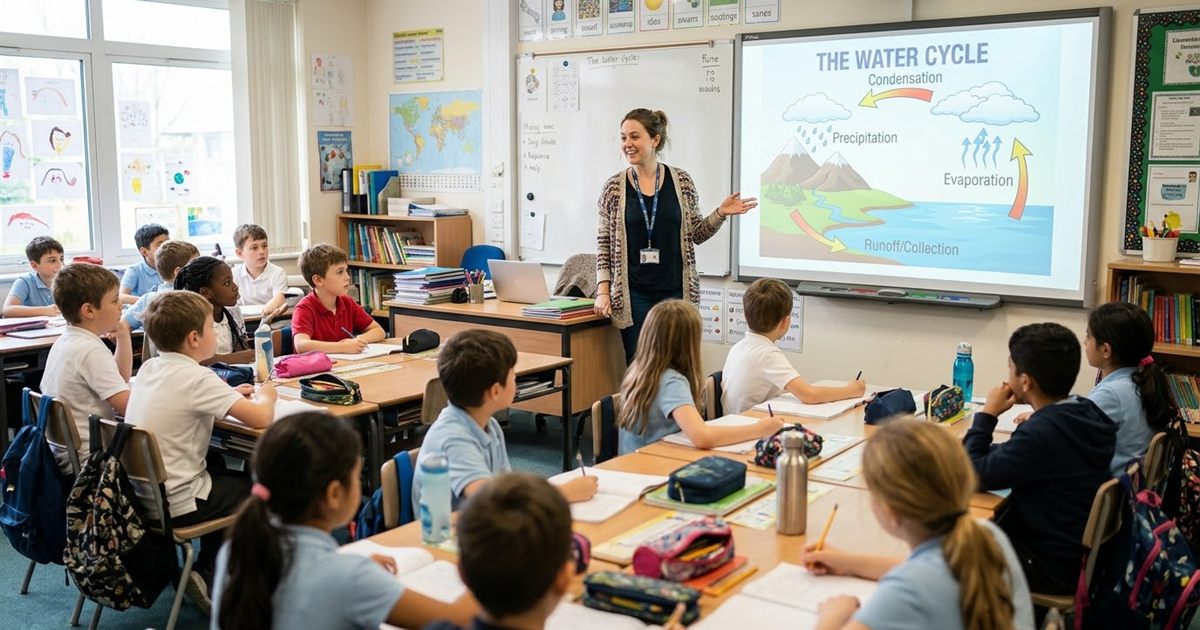
Some ideas are easier to see than to explain: how water moves through the water cycle, how a plant grows from a seed, how long division works, how a sentence is built piece by piece. A process diagram that changes one step at a time lets students follow the order without you saying it five times. You do not need animation software to make one. If you can draw or screenshot each step as a separate image, the free GIF Maker joins the steps into a short looping animation that you can place in slides, a class page or a handout. This guide shows how to plan the steps, build the GIF and use it well in a lesson.
Turn your diagram steps into a looping GIF
Open the GIF Maker, FreeWhy a Step by Step GIF Helps in a Lesson
A static diagram shows the finished picture. Students see everything at once and often do not know where to look first. A GIF reveals the process in order, and because it loops, it can run in the background while you talk, while students work or while they review.
- It shows sequence: first this, then that, then the result.
- It repeats without you, which helps students who need to see it again.
- It works in slides, on a class website or in a shared document, with no plugin.
- It keeps the file small and simple, unlike a full video.
It is best for short sequences of four to ten steps. For a longer lesson, a video is a better choice.
Good Topics for Process GIFs
- Science: the water cycle, the life cycle of a butterfly, the stages of the moon, how a seed germinates.
- Math: solving an equation line by line, long division, drawing a graph point by point.
- Language: building a sentence, the order of strokes in a letter or character, adding a prefix or a suffix.
- Geography and history: a map that fills in over time, a timeline that grows event by event.
- Everyday skills: washing hands, folding a paper plane, a safety routine.
Pick a process where the order matters. If the steps can be seen in any order, a single diagram is enough.
Plan Your Steps
Write the steps down before you draw anything. Each step should add one new idea.
- Keep every frame the same size and layout so only the new part changes.
- Add the new element in a clear color so students notice what changed.
- Number the steps in a corner if the order is important.
- Use large text and thick lines. A GIF is often shown on a projector or a small tablet.
- Make the last frame show the complete result with a short label.
You can build the frames in a slide deck, a drawing app or even with photos of a whiteboard. In a slide deck, duplicate a slide, change one thing, export each slide as an image and repeat.
Build the GIF Step by Step
- Open the GIF Maker and drop in your images. It needs at least two and accepts PNG, JPG, WebP and more.
- Check the numbered thumbnails. The numbers show the playback order, so remove and re-add any step that is out of place.
- Set the frames per second. At 1 FPS each step stays for one second. For steps with text, repeat the frame in the tool to make it last two or three seconds.
- Choose a width of 700 to 1000 pixels for slides and class pages.
- Set the loop. Infinite is good for a diagram that runs while you teach. Once works for a reveal that ends on the result.
- Create the GIF, preview it and download it.
Everything runs in your browser, there is no watermark and you do not need an account, which makes it easy to try a few versions with different timing.
Use the GIF in Class
- Slides: place the GIF on a slide and let it loop while you explain. See GIFs in slideshows and presentations.
- Class website or learning platform: upload it like any image. Check the file size limit first.
- Review pages: place the GIF next to a short written summary.
- Student projects: students can build their own GIFs to show what they learned, using photos or drawings they made themselves.
A GIF does not print as an animation. If you hand out a worksheet, the printed page shows a single image, so make sure the frame that prints is the most useful one. Can you print a GIF? explains what happens.
Make It Accessible
A moving image is not a full explanation for every student. Add support so that everyone can follow.
- Write a short text description of each step below or beside the GIF.
- Avoid rapid changes or flashing between frames. Slow, steady steps are easier to follow and safer. See GIF accessibility and flashing content.
- Add alt text that describes the process in a sentence or two.
- Offer the steps as a static list for students who prefer to read.
Student privacy matters too. Avoid including faces, names or personal information in frames, especially if the GIF will be shared outside the class.
Tips for Clearer Diagrams
- Limit text. A GIF is a visual, so use short labels.
- Use the same colors for the same things in every frame.
- Pause on the key step by repeating it. Fast animations hide the idea.
- Test the GIF on the device students will actually use.
- Keep the file small. How to reduce GIF file size covers what to do if it is too heavy.
For another way to show steps with screenshots, see how to make a step by step tutorial GIF from screenshots.
Frequently Asked Questions
How can a teacher make an animated diagram for free?
Draw or capture each step of the process as a separate image, then combine the images into a looping GIF with a free GIF maker that runs in your browser.
How many steps should a classroom GIF have?
Four to ten steps are enough for most lessons. Longer processes are better explained in a video or split into two GIFs.
Will the GIF play on a school projector or tablet?
Yes. GIFs play in modern browsers and in most slide programs. Test it on the device you will use, and keep the file small so it loads quickly.
Is a GIF accessible for all students?
Not by itself. Add a text description and alt text, avoid fast flashing and offer the steps as a written list as well.
Ready to animate your next lesson?
Open the GIF Maker, Free