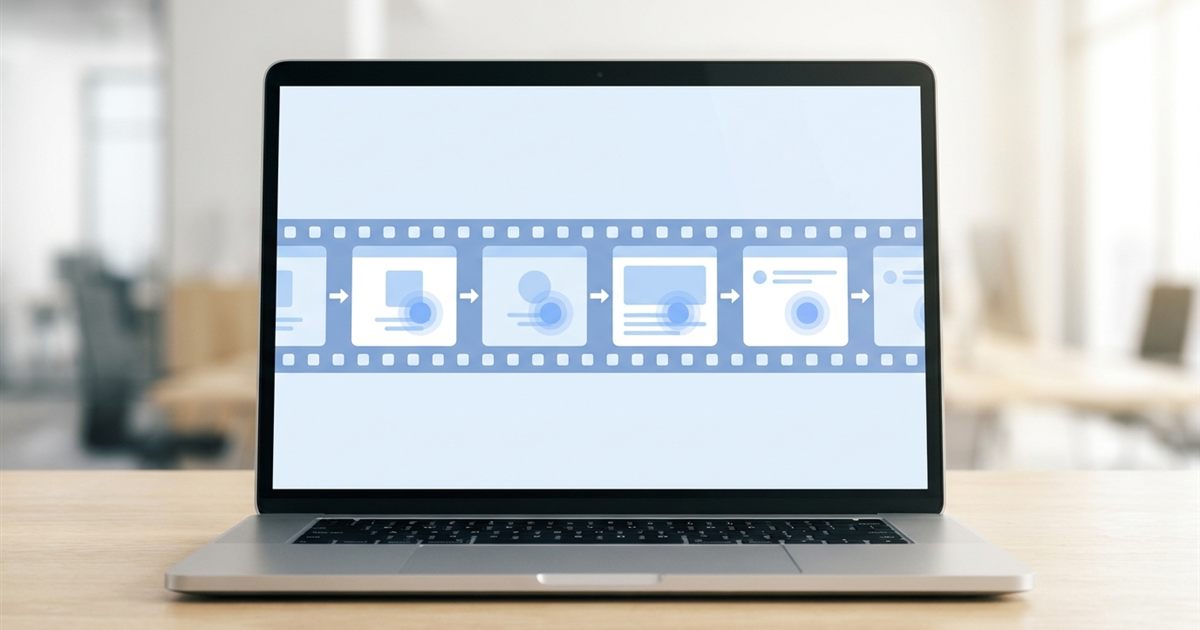
A tutorial GIF shows a task one step at a time, in a loop, without the weight of a video. If you already have screenshots of each step, you do not need screen recording software: you can turn the images straight into an animated GIF. The free GIF Maker takes your screenshots in order, lets you set the pacing and size, and gives you a file that plays anywhere, with no watermark.
Turn your screenshots into a tutorial GIF
Open the GIF Maker, FreeWhy a Screenshot GIF Beats a Video for Short Tutorials
A short how-to is often just five or six clicks. A video for that is heavy, needs a player and usually starts with a loading spinner. A GIF opens inline, loops on its own and is easy to drop into a help article, a support email, a changelog or a chat reply. Because every frame is a still screenshot, the text stays sharp and the reader can see exactly where to click.
The trade-off is that a GIF has no sound and no pause button, so it works best for tasks that take a handful of steps. For anything longer, a video or a numbered list with images is a better choice. If you do have a recording rather than screenshots, see how to turn a screen recording into a GIF.
Plan the Steps Before You Capture
Good tutorial GIFs are planned, not improvised. Write down the steps first and aim for no more than six or eight frames. Each frame should show one change: a menu opened, a field filled in, a button highlighted.
- Use the same window size and position for every screenshot so the frames line up.
- Hide personal data, notifications and bookmarks before you capture.
- Highlight the click target with a box or arrow in each screenshot, using any image editor.
- Name the files in order, such as step-1, step-2 and step-3, so they are easy to add in sequence.
Build the GIF Step by Step
- Open the GIF Maker and add your screenshots. PNG, JPG, WebP and other common formats are accepted, and you can mix formats.
- Check the order. Frames play in the order the files were added, so remove and re-add any that are out of place.
- Set the frame rate. At 1 FPS each screenshot stays on screen for about one second, which is a good starting point for readers who need time to follow along.
- Set the width. 800 pixels is a comfortable size for a help article, and the height adjusts automatically to keep the proportions.
- Choose the loop. Infinite works for most tutorials. Pick Once, Twice or 3 times if the GIF should not play forever.
- Create the GIF, preview it and download it.
Pacing: How Long Should Each Step Stay on Screen?
The frame rate applies to the whole GIF, so every screenshot is shown for the same time. That keeps the tool simple, but it means you need a small workaround when one step deserves more time than the others.
A reliable trick is to add a copy of that screenshot so it appears twice in a row, which doubles its time on screen. Save a duplicate file under a new name and add both. For a deeper look at timing, read how many FPS to use in a GIF.
Keep the File Size Under Control
Screenshots are mostly flat colors and text, which compress well in a GIF, so tutorial GIFs are usually smaller than photo GIFs. Still, a wide GIF with many frames can get heavy. Keep the width reasonable, avoid screenshots with gradients or photos when you can and trim any frames that repeat.
If the file is still larger than you want, run it through the GIF Optimizer. For help choosing a size, see what GIF dimensions to export.
Add a Caption to Each Step
Words help when the screenshot alone is ambiguous. You have two options: type a short caption on each screenshot in your image editor before building the GIF, or finish the GIF and add text with the Add Text to GIF tool. Keep captions short, use high contrast and place them where they do not cover the part of the screen you are pointing at.
Make the Tutorial Accessible
A GIF is not read aloud by screen readers, so describe the steps in text next to the GIF. A numbered list under the animation works well and doubles as the alt text source. Avoid fast flashing between frames, since rapid contrast changes can bother some viewers. See GIF accessibility and flashing content for guidance.
Where to Use Your Tutorial GIF
- Help center articles and onboarding pages.
- Support email replies, where a GIF explains a fix faster than a paragraph.
- Product update posts and release notes.
- Internal wikis and team chats.
- Social posts that teach a quick tip.
Frequently Asked Questions
How many screenshots should a tutorial GIF have?
Aim for five to eight. Fewer frames keep the file small and the lesson focused. If a task needs more, split it into two GIFs.
Can I make some steps stay longer than others?
The frame rate applies to every frame. To hold a step longer, add a duplicate of that screenshot so it appears twice in a row.
Do I need to install software to make a tutorial GIF?
No. The GIF Maker runs in your browser, so you only need your screenshots. The result downloads straight to your device without a watermark.
What size should a tutorial GIF be?
Around 700 to 900 pixels wide suits most help articles. Choose a smaller width for email and a larger one only when the text must stay legible.
Will the GIF loop forever?
By default it loops continuously. You can set it to play once, twice or three times if endless motion would be distracting.
Capture your steps, line them up in order and let the GIF Maker do the rest.
Ready to build your tutorial GIF?
Open the GIF Maker, Free