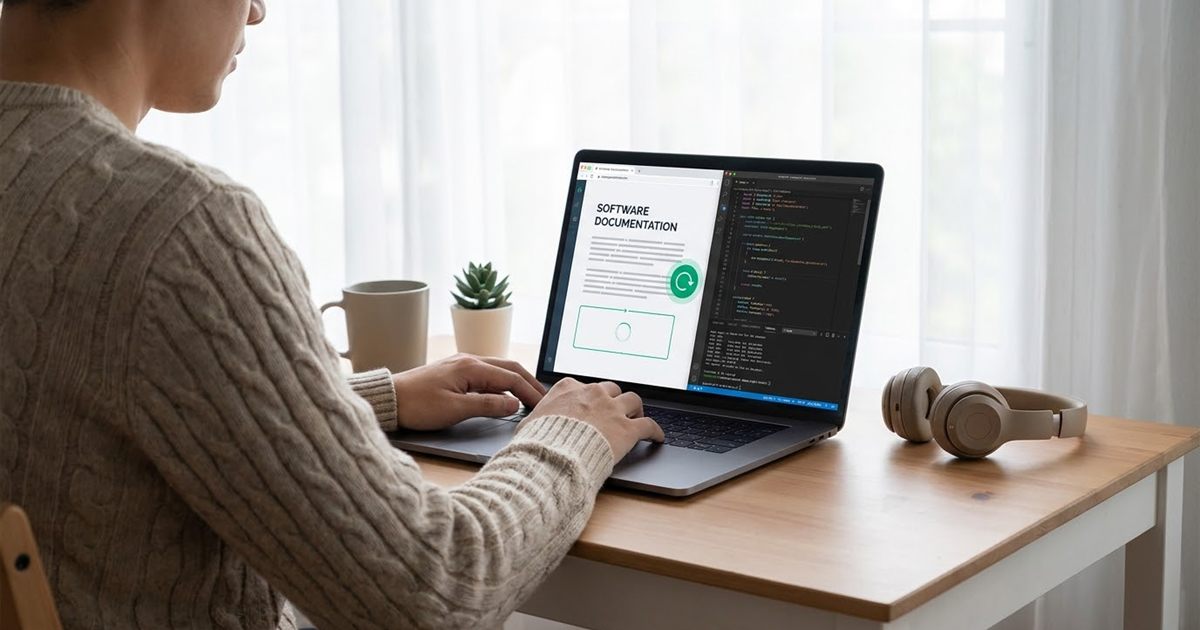
A README that shows how a tool works in five seconds beats a README that explains it in five paragraphs. The same goes for a help article, a Notion page or a internal wiki: a short looping animation shows a click path faster than words can describe it. The catch is that most people record a long video, drop it into the page and end up with something heavy that nobody plays. This guide shows how to make a small, clear demo GIF for documentation: what to record, how to turn it into a GIF, how to keep the file light and how to embed it so it works everywhere.
Have a screen recording of your product? Turn it into a GIF now
Turn a Screen Recording Into a GIFWhy a GIF Works Well in Documentation
Documentation pages are scanned, not read. A GIF starts on its own, loops without a click and works in any place that accepts an image. That makes it a good fit for one specific job: showing a short action from start to finish.
- Show a single feature, such as how to filter a table or how to invite a teammate.
- Demonstrate a command line result without asking the reader to install anything first.
- Replace a long list of screenshots with one loop.
- Add a quick before and after to a changelog or release note.
A GIF is not the right tool for long walkthroughs or anything with sound. If the demo needs more than about ten seconds or needs narration, link to a video instead and use the GIF as a short preview.
Plan the Demo Before You Record
Most bad demo GIFs are bad because the recording was unplanned. Spend two minutes on the plan and the rest gets easy.
- Pick one action. One GIF should answer one question, such as how to create a project.
- Write the steps in a short list, with no more than five clicks or commands.
- Prepare the screen. Close unrelated tabs, hide personal data and use a clean example account or sample data.
- Make the window small. A recording of a half screen window is easier to read than a full 4K monitor squeezed into a small GIF.
- Practice once without recording so your mouse movements are calm and direct.
Slow, deliberate mouse movements read better in a GIF than fast ones. Pause for a moment after each click so the reader can see what changed.
Step 1: Record the Screen
Use the screen recorder that comes with your computer or browser. Record only the area you need and stop as soon as the result is visible. You will trim the clip later, so a little extra at the start and end is fine.
If you are new to this, how to turn a screen recording into a GIF covers the recording side in more detail.
Step 2: Convert the Recording to a GIF
- Open the Video to GIF tool and drop in your recording. It runs in your browser, so the file is not uploaded to a server, which matters if your screen shows an unreleased product.
- Trim to the part that matters. Set the start and end so the loop begins right before the first click and ends right after the result.
- Choose a width of about 600 to 800 pixels. Text in a screen recording needs enough pixels to stay readable, but anything wider makes the file heavy.
- Use a frame rate of around 10 to 12 FPS. Interface demos do not need the 24 or 30 frames of a movie, and fewer frames mean a smaller file.
- Create the GIF and play it. Check that you can read every label and that nothing private is visible.
If the loop is too long, use the GIF Trimmer to shorten it, or speed it up a little with the GIF speed tool so the reader does not wait.
Step 3: Make the File Light
A documentation page that loads slowly loses readers. Aim for a GIF that loads quickly even on a mobile connection.
- Shorten the clip first. Every second you remove saves more weight than any compression setting.
- Reduce the width. Going from 800 to 640 pixels makes a noticeable difference.
- Lower the frame rate if the motion is simple.
- Run the result through the GIF optimizer to reduce the file size without a visible loss in most interface recordings.
- Check the limit of the platform where you will upload it, because limits vary by service and by plan.
For a deeper look at weight, read how to reduce GIF file size.
Step 4: Embed It
Most documentation tools treat a GIF like any other image. That means you can upload the file or link to it, and it will play on its own.
- In a README, add the GIF to your repository and reference it with the usual image syntax so it shows when the page loads.
- In a help center or CMS, upload it to the media library and insert it like an image.
- In a note taking or wiki tool, drag the file into the page or paste its link.
- Always add alt text that describes the action, such as Creating a new project from the dashboard. It helps screen readers and search engines. See GIF SEO, alt text and file names.
Write a sentence or two next to the GIF in plain text. A reader who cannot see the animation, or who is on a metered connection, should still understand the step.
When to Use a Video Instead
GIFs have no sound, a limited number of colors and can get large quickly. If your demo is longer than ten seconds, includes fine detail or needs audio, a video file is a better choice. You can also do both: a tiny GIF as the preview and a link to the full video. To see the trade offs between formats, read GIF vs WebP.
A Quick Checklist
- One action, five steps or fewer.
- Clean sample data and no personal information on screen.
- 600 to 800 pixels wide, 10 to 12 FPS.
- Trimmed so the loop starts and ends cleanly.
- Optimized for size and described with alt text.
- A sentence of plain text next to it.
Frequently Asked Questions
Can I put a GIF in a GitHub README?
Yes. A README can show an animated GIF like any other image. Add the file to your repository or link to it, and keep it small so the page loads quickly.
How long should a documentation GIF be?
Aim for under ten seconds. If the action takes longer, split it into two GIFs or link to a video and use the GIF as a short preview.
What size should a demo GIF be?
A width of 600 to 800 pixels at 10 to 12 FPS is a good starting point for interface recordings. It stays readable and keeps the file small.
Is it safe to convert a private screen recording online?
With a browser based tool the conversion happens on your device and the file is not uploaded. Still, hide personal data and unreleased details before you record.
Ready to add a demo GIF to your README or docs?
Turn a Screen Recording Into a GIF