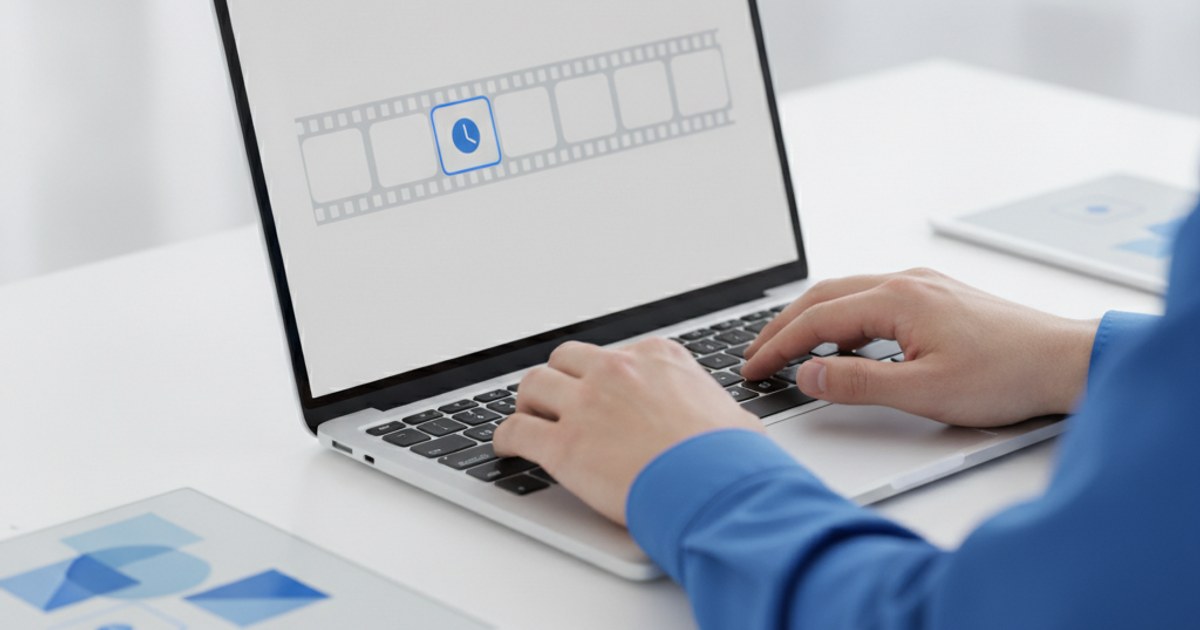
Most GIF tools assume every frame should play for the same amount of time, which works fine for a simple loop but falls apart the moment you're building something more deliberate: a step-by-step tutorial where step 3 needs more time to read than step 1, or a comic-style sequence where the punchline frame should linger. A real GIF builder lets you control each frame's duration individually, not just a single FPS for the whole thing. Here's how to build one that way, for free.
Ready to build your GIF?
Open GIF Maker — Free, No SignupWhy a Single FPS Setting Isn't Always Enough
A fixed frames-per-second rate is perfect for smooth motion captured from video, since every frame genuinely does represent the same slice of time. But when you're building a GIF from separate still images, a single FPS setting forces every frame, no matter how much information it holds, to display for the exact same length. A frame showing three lines of instruction text gets the same half-second as a frame showing a single icon, which means either the text frame flies by unread or the icon frame drags.
A frame-by-frame builder fixes this by letting you set the display duration for each individual frame before you generate the final GIF, so the pacing actually matches the content instead of fighting it.
When You Actually Need Per-Frame Timing
Three situations come up constantly: step-by-step tutorials where later steps need more reading time, comic or meme sequences where the final panel is the punchline and deserves a beat longer on screen, and before/after or product-feature callouts where each frame introduces new information the viewer needs a moment to process. In all three, uniform timing either rushes the important frame or drags out the throwaway ones.
How to Build a GIF Frame by Frame with Custom Timing
- Prepare your images in order: Export each frame as a separate PNG, JPG or WebP file, named or sorted so they upload in the sequence you want them to play.
- Upload them to the GIF Maker: Go to ezyimg.com/gif-maker and drag in every frame. They'll appear in the order added.
- Reorder if needed: Drag frames into the correct sequence directly in the tool if any landed out of order.
- Set a baseline FPS, then fine-tune: Start with a default speed (10 FPS is a safe baseline), then treat it as your starting point rather than your final answer.
- Preview before exporting: Watch the loop play back and check whether any frame feels rushed. Adjust width and FPS and re-preview until the pacing feels right, then click Create GIF.
Tips for Sequences That Need to Read Clearly
Keep text within each frame short enough to read in the time it's on screen; a wall of text in a fast-moving GIF just gets skipped. If one particular frame is doing more work than the others (introducing a new step, showing a result), consider duplicating it as two consecutive frames in your source images before uploading, which effectively doubles its display time without needing separate per-frame controls. Keep total frame count reasonable too: a builder GIF with 20+ distinct frames gets large fast, so group closely related steps into fewer, denser frames where you can.
Ready to try it yourself?
Open GIF Maker — Free, No SignupCommon Mistakes When Timing Frames Manually
The duplicated-frame trick works well, but it's easy to overdo it. Duplicating a frame five or six times to make it linger noticeably longer adds real file size for very little visual benefit, since GIF stores each frame as close to a full image. If a frame genuinely needs a long pause, two or three duplicates is usually plenty, most viewers won't consciously register the difference between a 1-second pause and a 3-second one in a short tutorial GIF, they'll just register that it felt readable.
Another common mistake is inconsistent pacing across the sequence: three fast frames followed by one that lingers far longer than the rest can feel jarring rather than deliberate, even if that one frame genuinely needed the extra time. Where possible, keep the pacing difference between frames modest, a 2x difference reads as intentional, a 6x difference can just look like the GIF glitched or paused unexpectedly.
It's also worth previewing the full loop at the actual size it'll be viewed at before exporting. A sequence that reads perfectly at full screen on a desktop monitor can move too fast to follow once it's shrunk down inside a chat bubble or an embedded blog image, so always do a final pass at realistic size, not just full-screen in your editor.
Frequently Asked Questions
Can I really control how long each individual frame displays?
A duplicated-frame trick achieves this reliably with any GIF tool: if a frame needs to display twice as long, include it twice in a row in your source images before building. It's a simple workaround that gives you real per-frame timing control.
How many frames is too many for a builder-style GIF?
There's no hard limit, but each added frame increases file size meaningfully. Most step-by-step GIFs work well with 4 to 10 frames; beyond that, consider grouping steps or splitting into two shorter GIFs.
Does EzyIMG's GIF builder add a watermark or require an account?
No. It's completely free, with no watermark and no account required, and everything processes directly in your browser.
What file size should I expect for a 6-frame tutorial GIF?
It depends heavily on image complexity and width, but a 6-frame screenshot-style GIF at 480px wide typically lands in the 300KB to 1.5MB range. Run it through the GIF Optimizer afterward if you need it smaller.
Related GIF tools
- GIF Maker: Build a GIF from images, frame by frame
- GIF Optimizer: Reduce GIF file size after building
- Video to GIF: Convert video clips to GIF instead